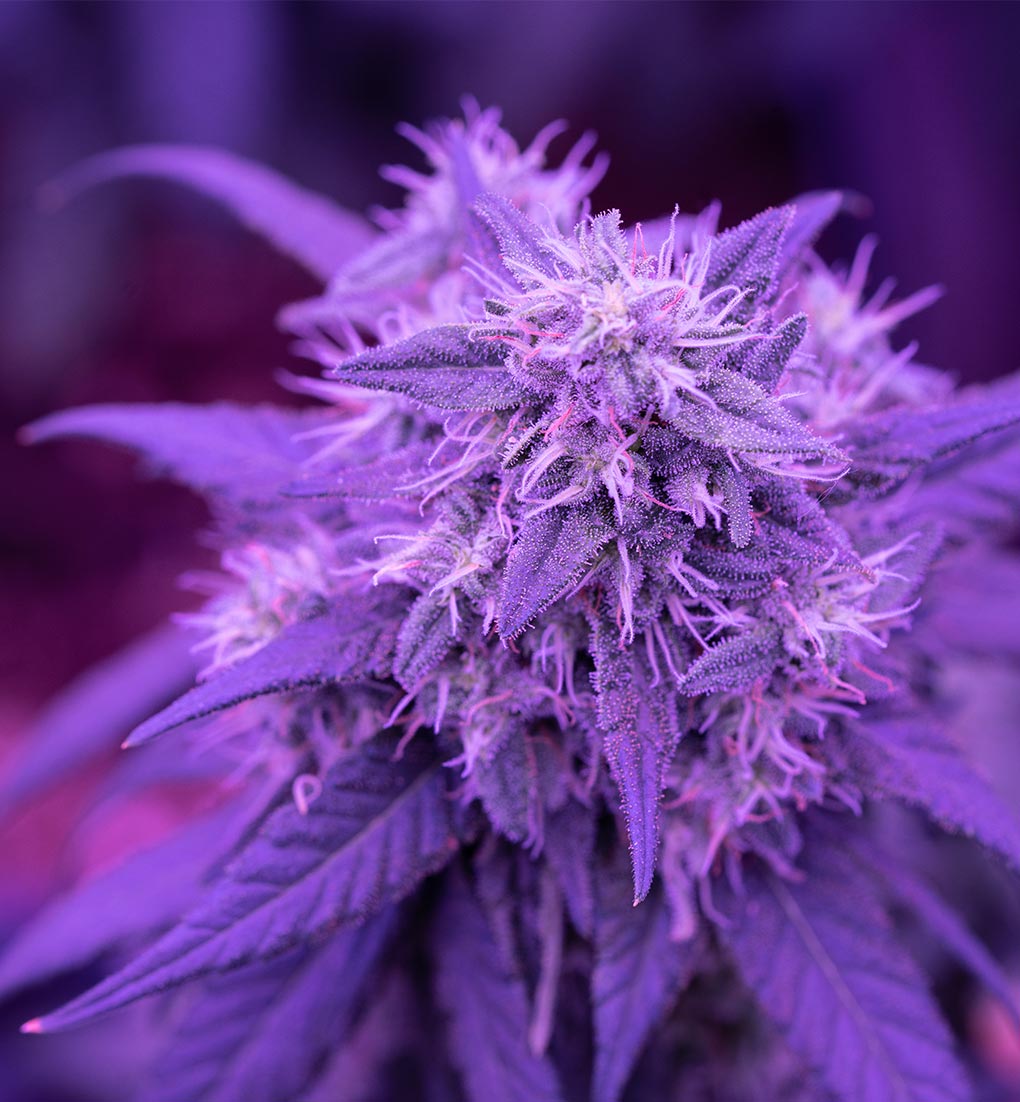
How to Grow Cannabis at Home: A Beginner’s Guide
How to Grow Cannabis at Home: A Beginner’s Guide

Donec mollis hendrerit risus aenean imperdiet
Growing cannabis at home can be a rewarding hobby and provides a way to cultivate your own supply with full control over quality. This guide covers everything you need to know to get started.
1. Understand the Basics
Cannabis is an annual plant, meaning it grows, flowers, and dies within a year. For home cultivation, you can grow cannabis indoors in a controlled environment or outdoors if your climate is suitable. Indoor growing provides more control over the environment, while outdoor growing typically yields larger plants.
2. Choose Your Seeds
Selecting the right cannabis strain is key to achieving the effects you’re looking for. There are three main types:
Indica: Known for relaxing effects and shorter, bushier plants.
Sativa: Known for uplifting effects and taller, lankier plants.
Hybrid: Combines traits of both Indica and Sativa.
Choose feminized seeds for a guaranteed female plant (the one that produces buds) or auto-flowering seeds if you want a faster, simpler grow process. Seed banks provide detailed descriptions of strain characteristics, making it easier to pick one that suits your needs.
3. Set Up Your Grow Space
Your grow setup will depend on whether you’re growing indoors or outdoors.
Indoor Growing
Grow Tent or Closet: Keeps your environment contained and helps control temperature, humidity, and light.
Lighting: LEDs are efficient and generate less heat. You’ll need 18 hours of light per day in the vegetative stage and 12 hours per day in the flowering stage.
Ventilation: Proper airflow prevents mold and promotes healthy growth. Use fans and a carbon filter to control odor.
Thermometer and Hygrometer: Monitor temperature (70–85°F) and humidity (40–70%) closely.
Outdoor Growing
Location: Choose a sunny spot, as cannabis plants need at least 6 hours of direct sunlight daily.
Soil Quality: Outdoor plants thrive in nutrient-rich soil. Enhance poor soil with compost.
Protection: Keep an eye out for pests, animals, and adverse weather conditions that can damage plants.
4. Select Your Growing Medium and Nutrients
Soil: Ideal for beginners due to its simplicity. Choose organic soil with a pH of 6.0–7.0 for best results.
Hydroponics: Growing in water-based nutrient solutions can lead to faster growth but requires more knowledge and setup.
For nutrients, cannabis plants need a balance of nitrogen (N), phosphorus (P), and potassium (K). Nutrients should be applied in the right proportions:
Vegetative Stage: High in nitrogen.
Flowering Stage: High in phosphorus and potassium.
5. Germinate Your Seeds
To start your plants, soak seeds in water for 12–24 hours until they sprout. Then, transfer them to a small container with your chosen growing medium, planting them about 1 inch deep. Keep the soil moist but not soaked, and provide light once they sprout.
6. Vegetative Stage (Weeks 2–8)
In this stage, plants develop leaves, stems, and roots. Provide 18–24 hours of light each day. Increase nutrient levels and water regularly, allowing the soil to dry out slightly between waterings.
Key Tips:
Training: Techniques like topping or low-stress training (LST) can increase yields by encouraging more buds.
Pruning: Remove any lower leaves that receive little light to improve airflow and focus energy on top growth.
7. Flowering Stage (Weeks 8–14)
Switch your light cycle to 12 hours on and 12 hours off. This stage is where buds develop, and the plant’s smell becomes more noticeable. Gradually reduce nitrogen and increase phosphorus and potassium.
Key Tips:
Humidity Control: Lower humidity to 40–50% to prevent mold on the buds.
Light Distance: Keep lights 12–24 inches away from plants to prevent burning.
8. Harvesting
Your plant is ready to harvest when about 70% of the pistils (hairs on buds) have turned amber, or when the trichomes (crystals on buds) turn milky with a few amber-colored ones.
Cutting: Cut branches off the plant and trim away large leaves.
Drying: Hang buds upside down in a dark, ventilated room at 60–70°F and 50% humidity for about a week.
Curing: Place dried buds in glass jars, opening the jars daily for air exchange over the first few weeks to improve flavor and potency.
9. Final Tips for Success
Patience: Don’t rush the process. Each stage is important for a quality harvest.
Observe: Monitor plants daily for signs of pests, nutrient issues, or environmental changes.
Experiment: Each grow is a learning experience. Experiment with techniques like topping, low-stress training, or different nutrient mixes to find what works best.
With the right care, you’ll produce a quality harvest. Enjoy the process and the rewarding experience of growing your own cannabis plants from seed to harvest!
