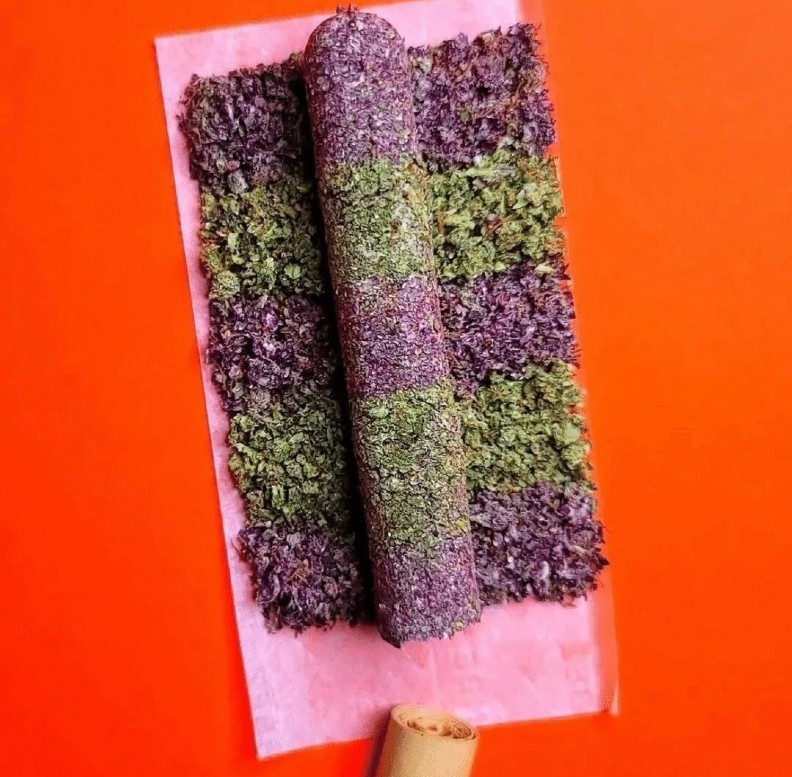
How to Make a Cannagar: A Guide to Elevate Your Smoke Session
How to Make a Cannagar: A Guide to Elevate Your Smoke Session

Donec mollis hendrerit risus aenean imperdiet
If you’re looking to take your smoking experience to the next level, a cannagar (or cannabis cigar) is the ultimate way to do it. Cannagars burn slower, last longer, and deliver a smooth, rich smoke, giving you the luxury experience with every puff. Here’s a step-by-step guide on how to make your own cannagar at home.
What You’ll Need:
Cannabis Flower: High-quality flower is essential for a smooth and flavorful smoke.
Cannagar Mold or Press: This helps shape the cannabis into a solid cigar-like form.
Cannabis Leaf Wraps or Hemp Wraps: To wrap the cannagar and hold it together.
Skewer or Cannagar Stick: Used to mold the cannabis around and create an airflow path.
Optional Add-ons: If you want to enhance the experience, you can add concentrates or kief.
Step 1: Prepare Your Cannabis
Start by grinding your cannabis flower. You want a medium-coarse grind, not too fine, to maintain airflow and ensure an even burn. A cannagar generally uses more cannabis than a regular joint or blunt, so be prepared for a larger amount if you want a solid cannagar that lasts.
Step 2: Pack the Mold
Place the skewer or cannagar stick in the center of the mold. Begin packing the ground cannabis around it, pressing firmly as you go. The key here is to pack tightly to ensure a slow, consistent burn, but don’t go overboard, as you still want airflow.
You can add layers of kief or concentrate during the packing process for an extra kick. Simply sprinkle them in between layers of flower as you pack.
Step 3: Press and Cure
Once packed, press the cannagar mold tightly and let it cure. This process usually takes a minimum of a few hours, but many enthusiasts prefer curing for up to 24 hours to enhance the flavor and burn quality. If you’re patient, the wait is well worth it.
Step 4: Remove the Mold and Wrap
After curing, carefully remove the cannagar from the mold. At this stage, it should hold its shape well. Wrap it with fresh cannabis or hemp leaves to hold everything together and give it a classic look. This outer wrap also contributes to the smooth, extended burn that cannagars are famous for.
Step 5: Light and Enjoy!
Your cannagar is ready to smoke! Light it slowly and evenly, allowing it to burn from the edges to create an even cherry. Cannagars can last much longer than typical joints or blunts, so prepare to relax and enjoy the experience.
Why a Cannagar?
Cannagars offer an unmatched smoking experience. Their slow, even burn and rich flavor make them ideal for special occasions or simply elevating your smoke sessions. Here at Premium Blends, we believe in savoring each moment, and a cannagar is the perfect way to indulge.
Final Tips
Creating a cannagar can be a bit of a process, but it’s well worth the effort. With a little practice, you’ll be crafting cannagars that impress and enhance every session. Have any favorite tips or twists on the cannagar recipe? Drop them in the comments below, and let’s keep the good vibes rolling!
